這台竟然有三年保固。
這款C9有1G雙核心CPU,所以處理效能更UP!UP!
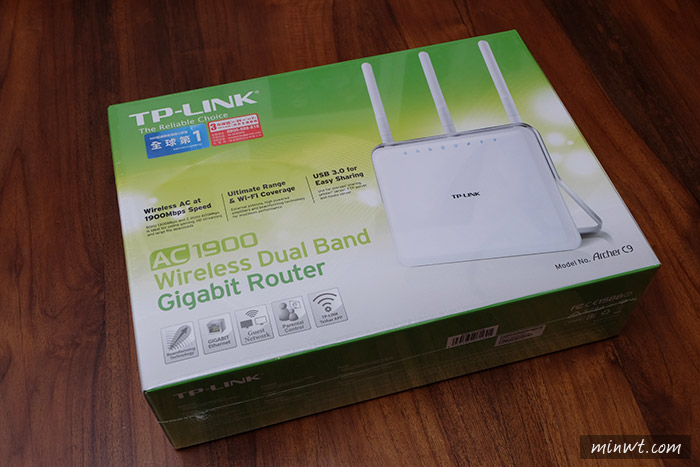
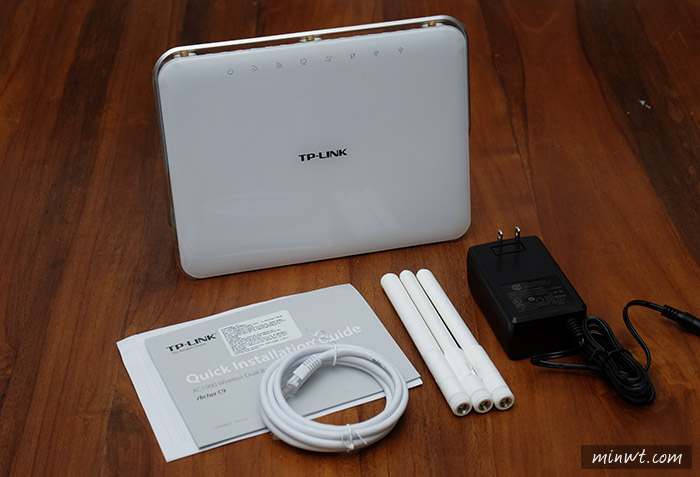
TP-LINK C9分享器,跟三隻的天線,與變壓器和網路線。
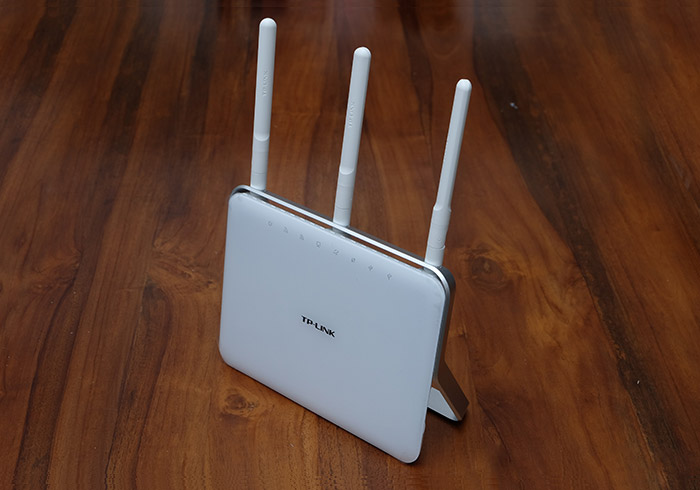
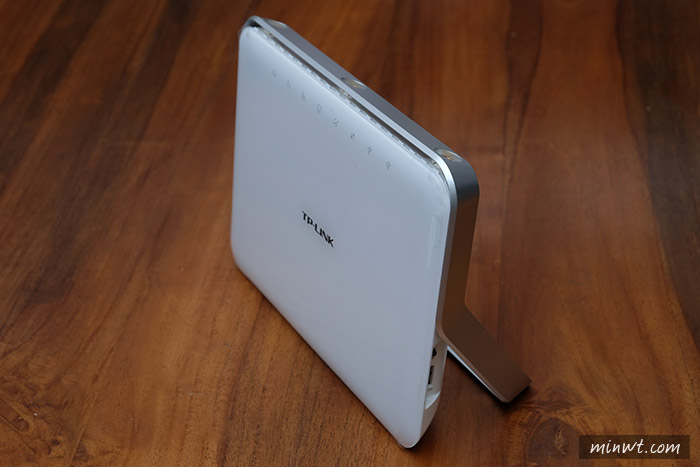
這台TP-LINK C9分享器,是直立式的,後方的腳是固定的無法收合。
接著把天線鎖上去。
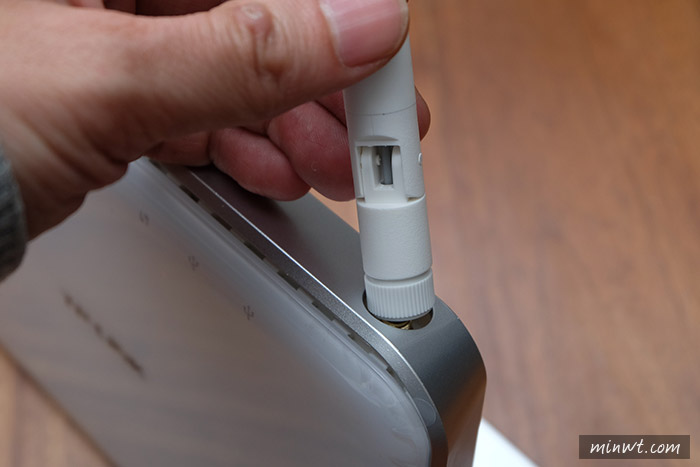
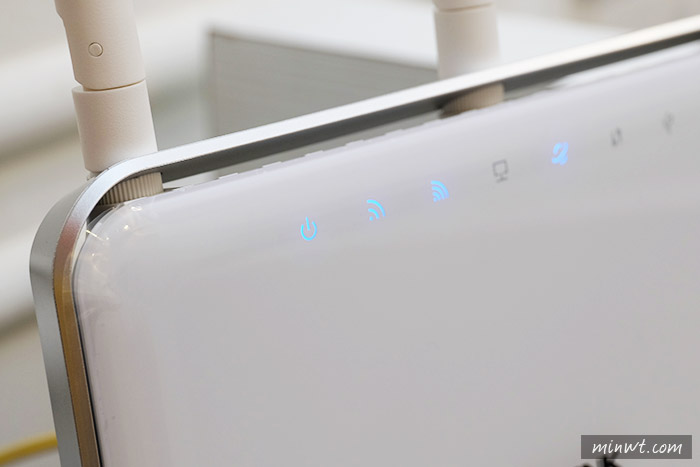
鏘~鏘~鏘~三柱香,且可任何的調整天線的角度,讓收訊更廣泛。

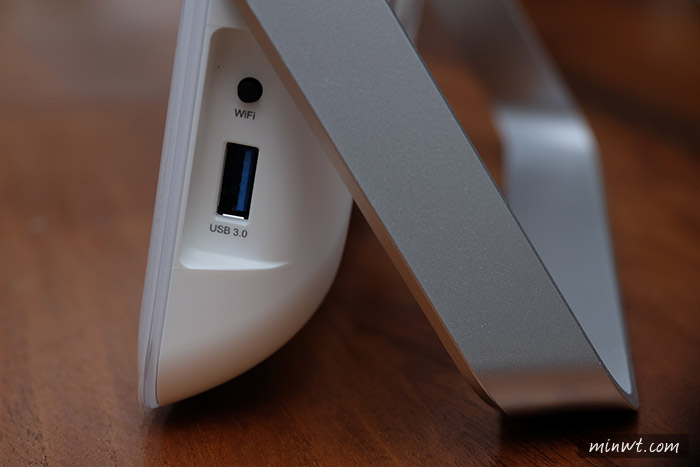
後方有RJ45的網孔,以及電源孔,和USB2.0的插槽。
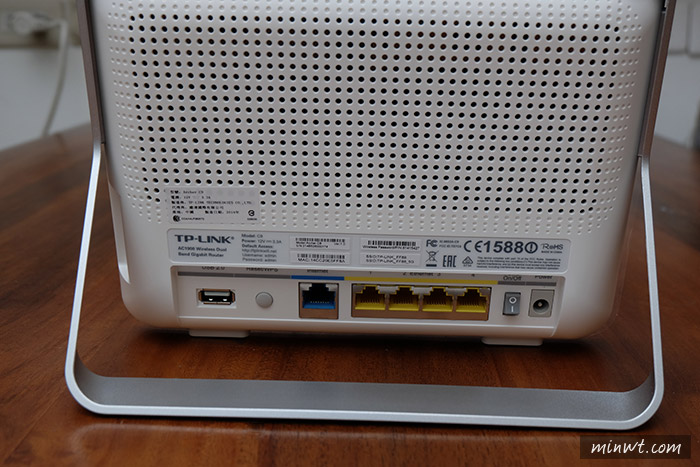
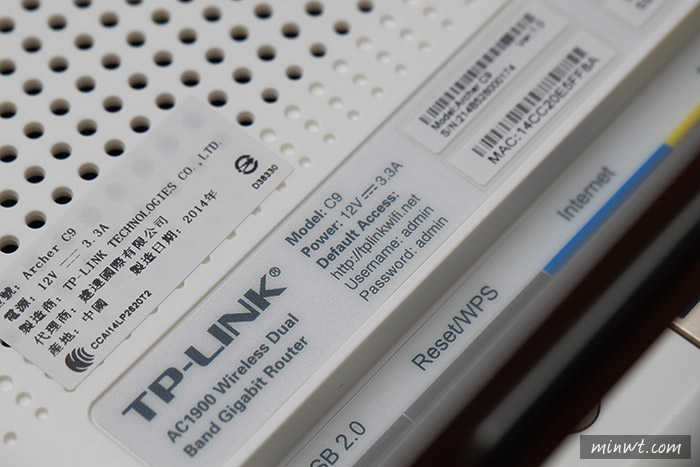
第一次無線網路的連線密碼,與管理帳密都印在後方。
側邊的USB插孔則是3.0,傳輸更快速。
通電後,接下來就開始來設定囉!
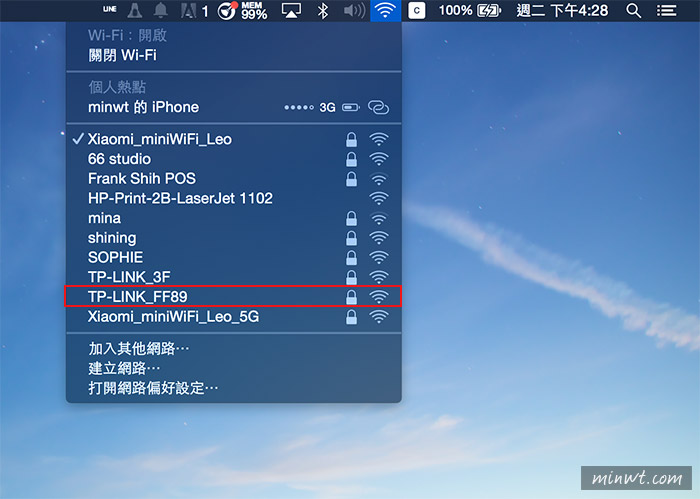
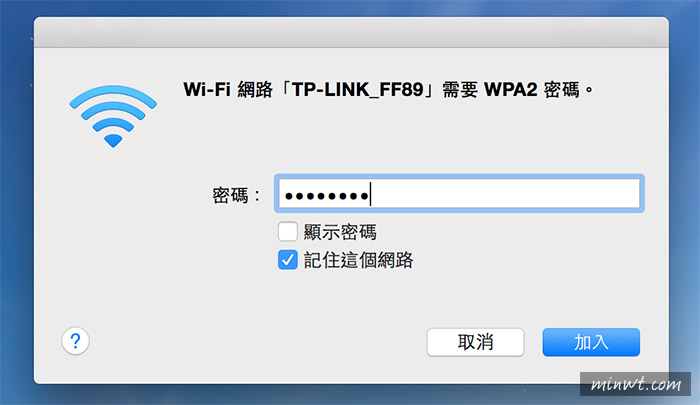
點一下無線網路的圖示,再點TP-LINK進行連線。
密碼就在無線分享器的後面。
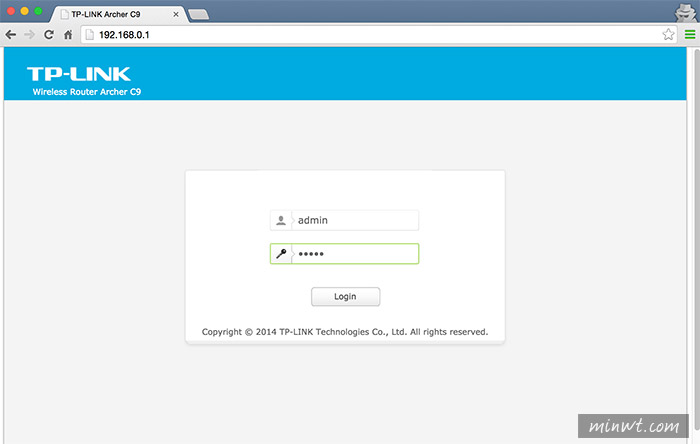
接著開啟瀏覽器,輸入192.168.0.1,一樣帳密印在分享器後面。
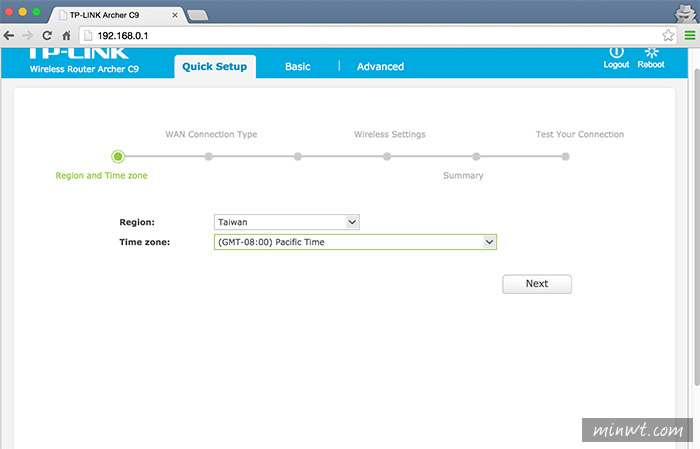
設定方法很簡單,只要照著精靈模式一一的設定,就可完成設定啦!
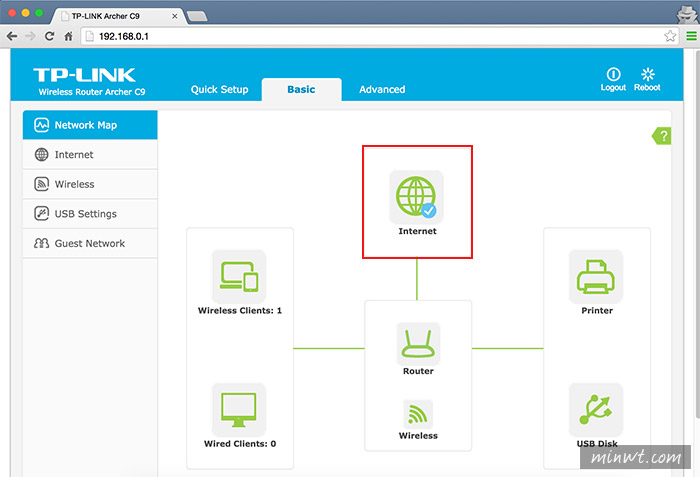
設定完成後,當連線成功後,上方的地球就會看到勾勾。
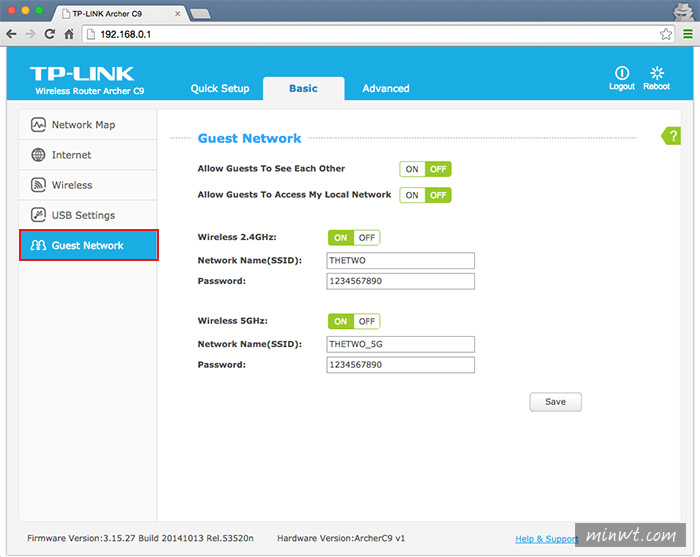
而這個分享器,有個很特別的功能,就是可多設一組訪客專屬的連線名稱,這樣就可設定訪客連線內部的連線權限。
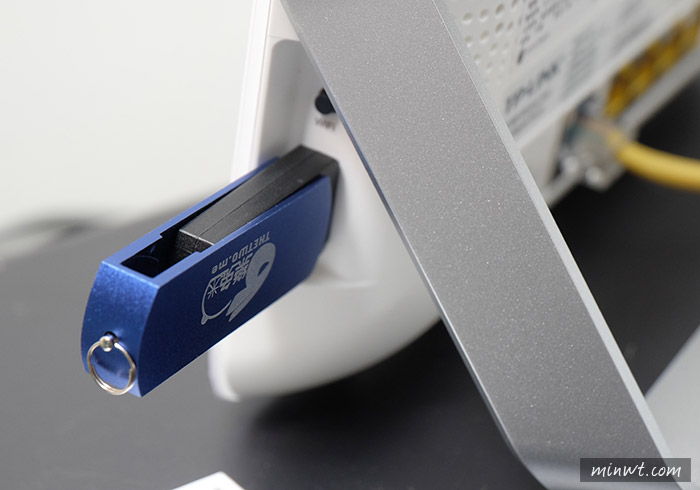
除此之外,也可將USB隨身碟插到USB槽中,就可將檔案分享出來啦!
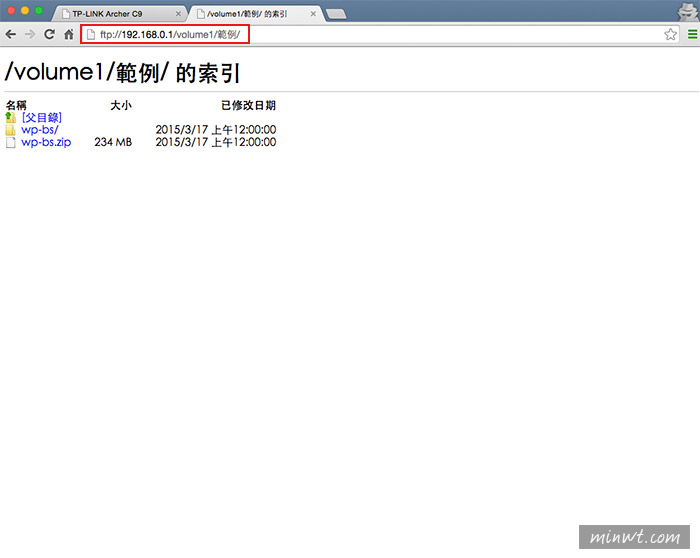
接著到管理後台,在File Sharing將FTP的選項給開啟。
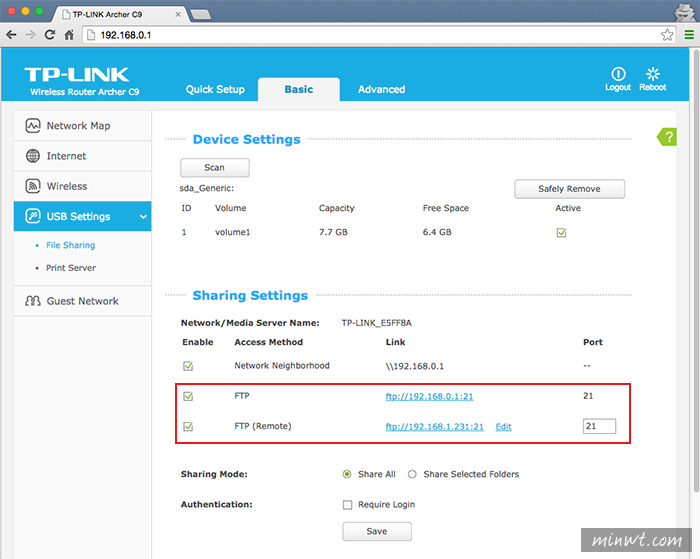
接著開啟網頁,輸入ftp網址,就可看到隨身碟內的資料,且還支援檔名,分享檔案真是超方便的啦!