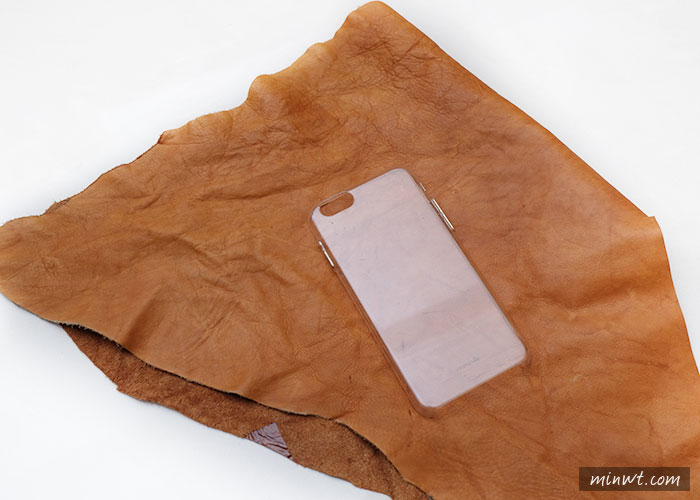
Step1
首先,先準備一個透明殼,與一塊皮革,沒想到這塊廢皮好大片,可以做好幾個呀!
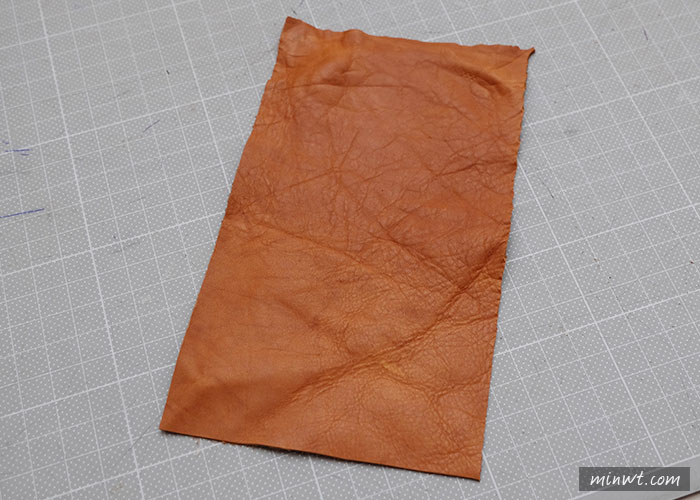
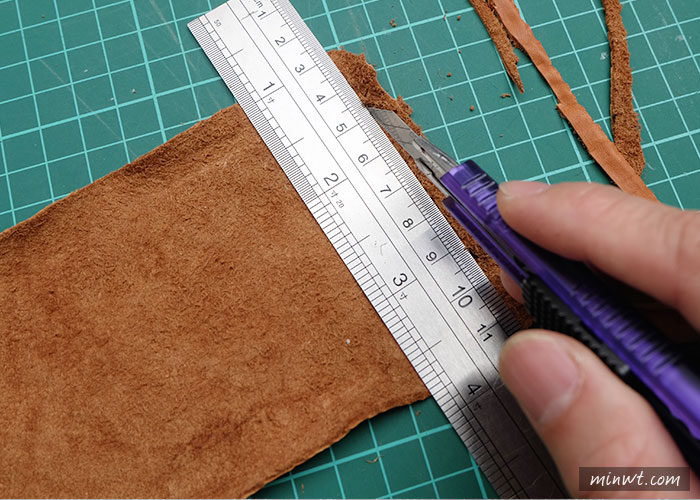
Step2
接著用刀片大約割出一個,與iPhone6差不多的皮塊。
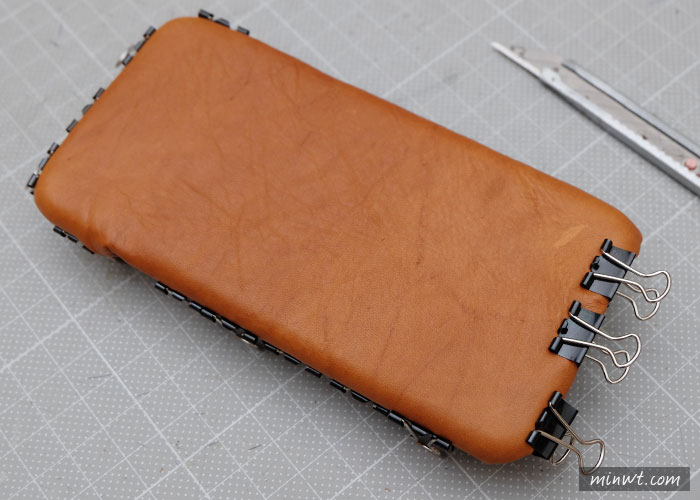
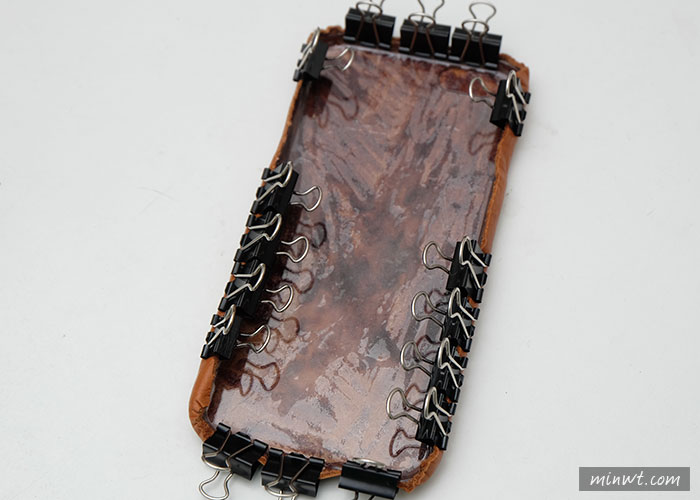
Step3
再把皮革打溼,將皮革順勢服貼在手機殼上,並用燕尾夾固定與塑型。
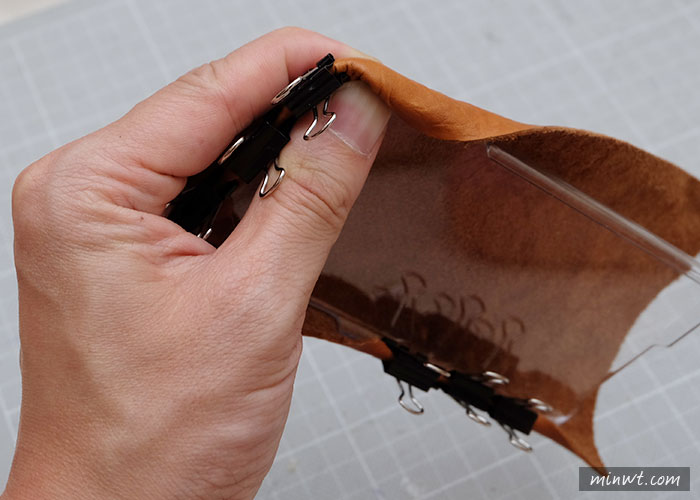
Step4
大概夾個二、三天,讓皮定型。
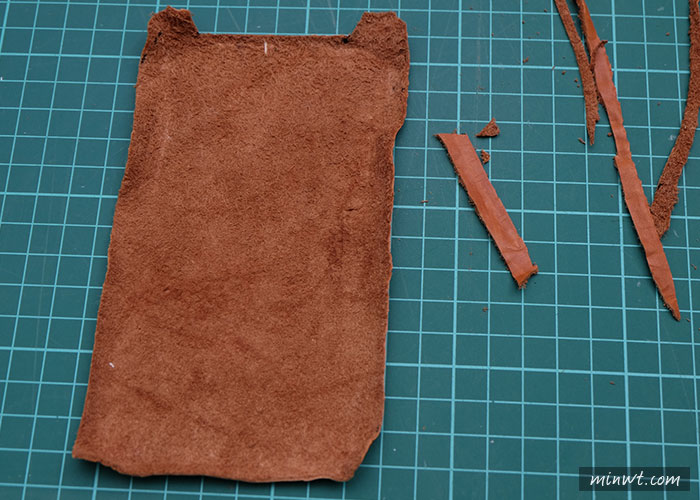
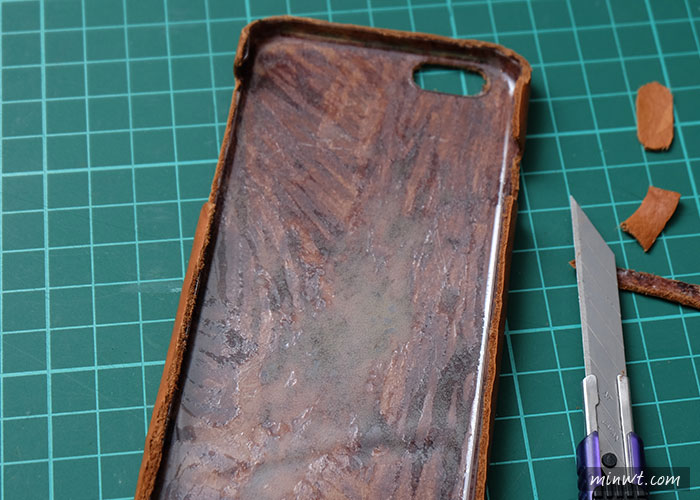
Step5
接著打開後,再用刀片修出外型。
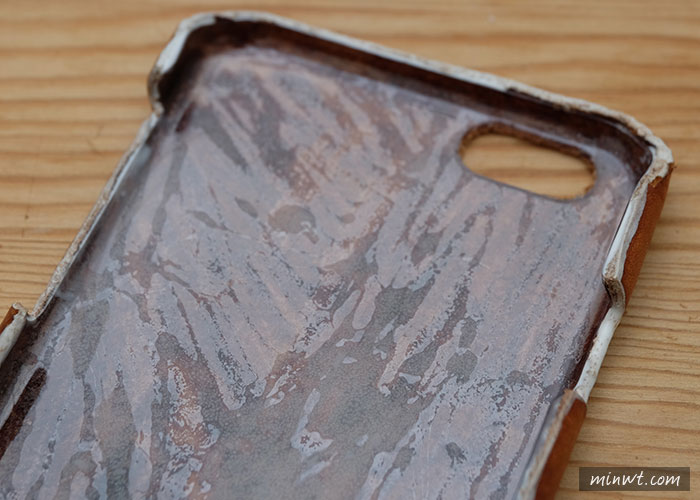
Step6
由於四周都是曲面,所以要多留一點,等下用力的拉平後,再將多餘的給裁切掉。
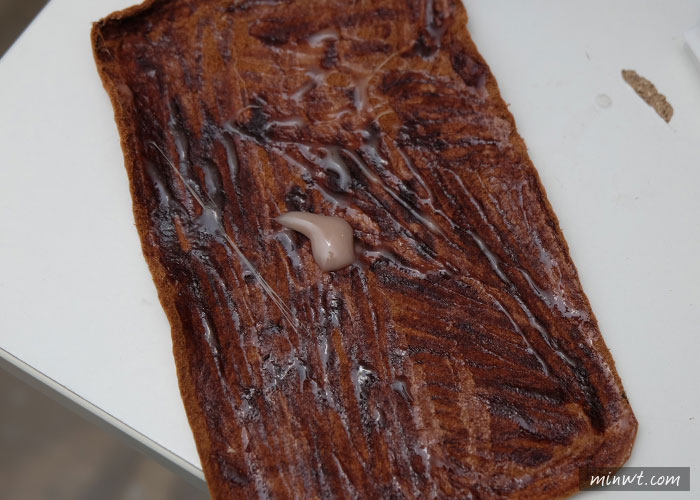
Step7
接著用3M皮革專用的膠,均勻的塗在背面的皮面上。
Step8
接著黏在透明的保護殼上,四周並用燕尾夾固定住。
Step9
差不多放一天乾掉後,再用刀片將多餘的區塊一一的割掉。
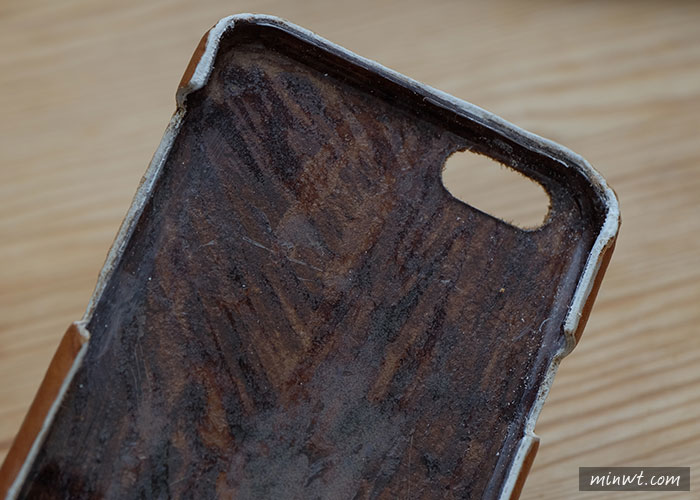
Step10
由於四週有刀片的割痕,所以邊有點醜醜的,這時先用填充劑,將四周不平的先補平,就有點像補土一樣。
Step11
等填充劑乾掉後,再用沙紙磨一磨,重覆的多上幾次,四周的邊就會變得比較平順。
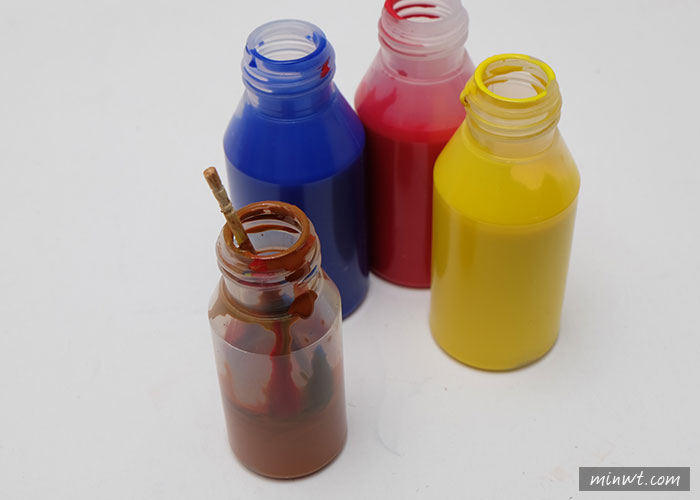
Step12
最後再用藍、紅、黃的油邊劑,自行調出所需的顏色。
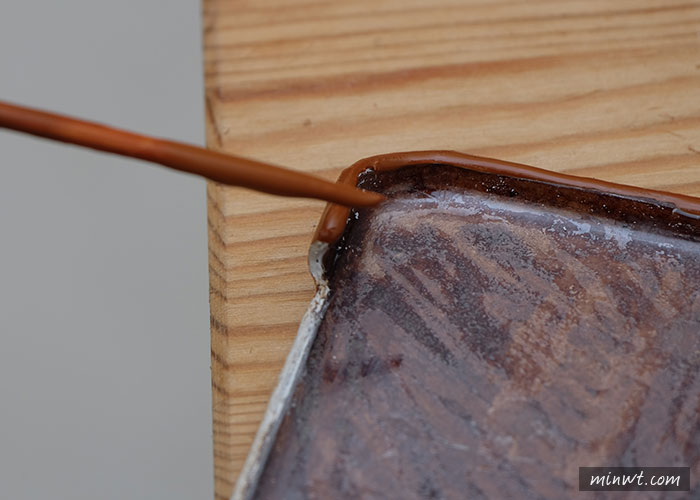
Step13
再用小木棒,將剛所調好的油邊劑塗在四周,乾掉後一樣再用沙紙磨一磨後,再重覆的多上幾次,就會變得平滑。
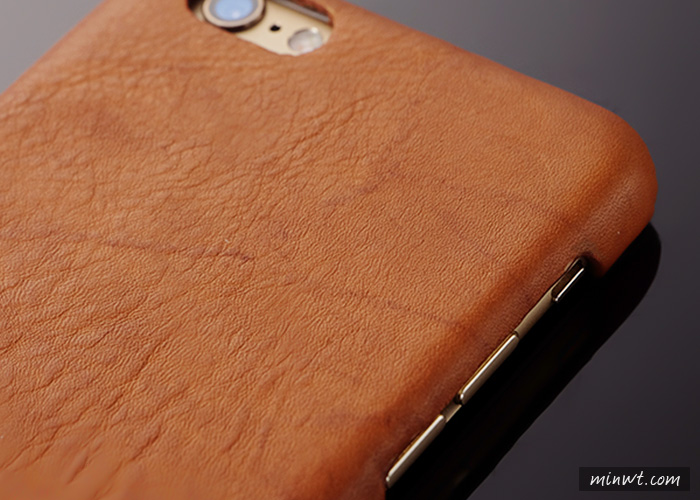
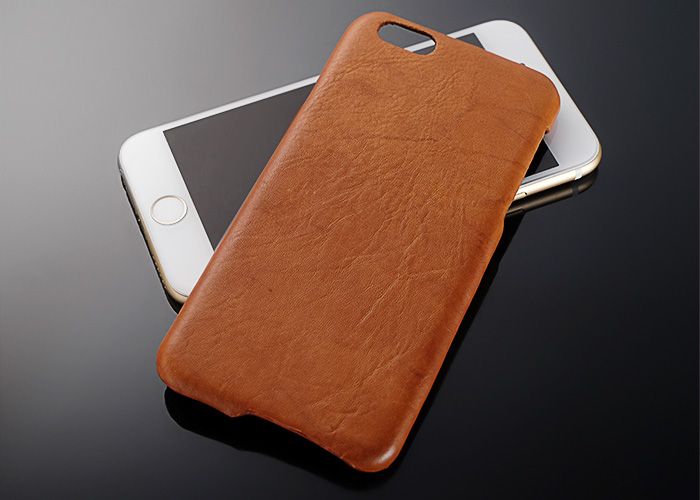
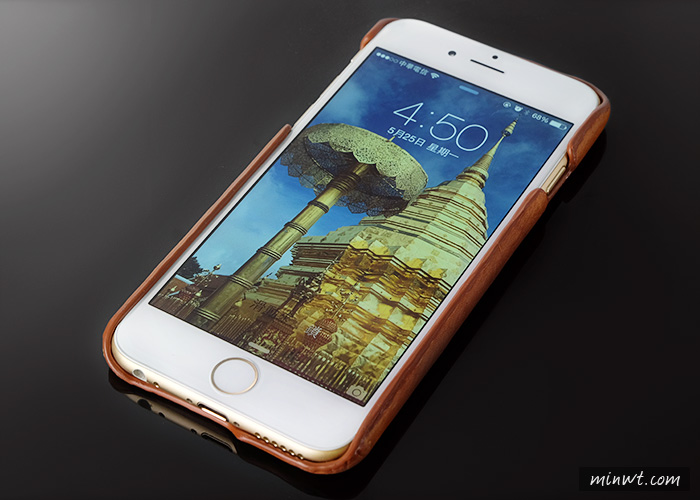
Step14
鏘~鏘~這樣就大功告成啦!
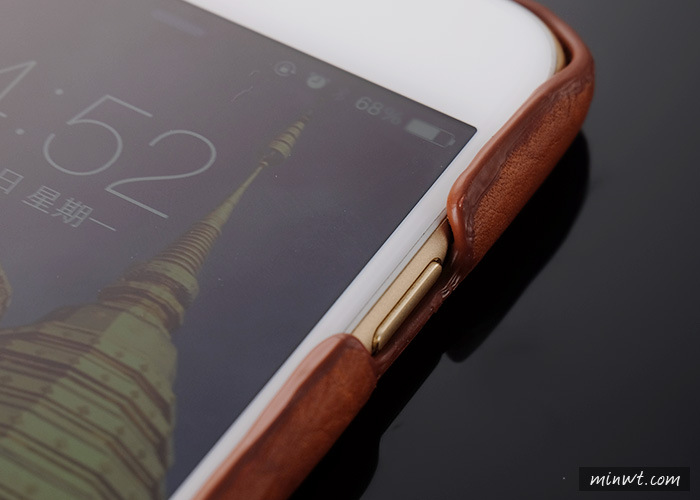
Step15
一時沒想到油邊有厚度,所以會有點頂邊,因此在按鍵的開口,要稍為開大一點。
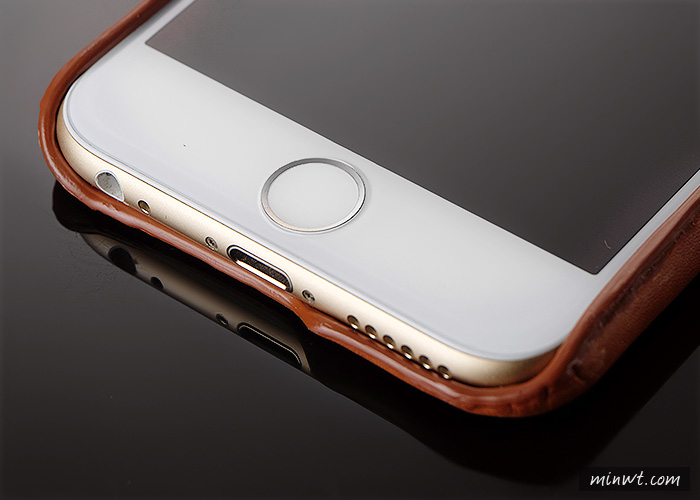
Step16
底部完全沒問題,不會被卡到。
Step17
另一邊按鍵的開口也OK!
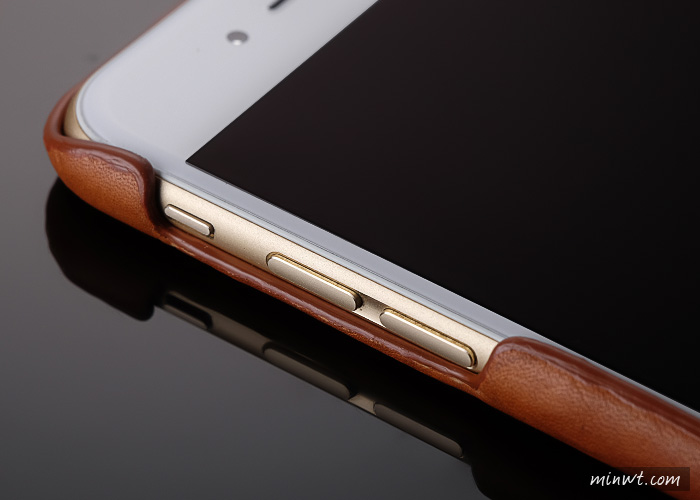
Step18
在拉平貼合後,所有的彎位都能與iPhone6四周的曲面服貼在一起,這就跟雨後嬌陽中的皮鞋挽皮的概念還蠻相似的,因此喜歡皮革的朋友,也趕快動手作一個吧!